Duct AC Insulation Repair
Duct AC Insulation Repair: A Comprehensive Guide
Duct insulation plays a crucial role in maintaining the efficiency of your air conditioning (AC) system. It helps in reducing energy loss, preventing condensation, and maintaining the desired temperature in your ducts. Over time, however, insulation can degrade or get damaged, which can lead to higher energy bills, reduced system performance, and even moisture problems. If you’re experiencing any of these issues, it may be time to repair or replace the insulation in your ducts.
This guide will walk you through the process of inspecting, repairing, and replacing insulation in your AC ducts.
Why is Duct Insulation Important?
Duct insulation serves several key functions in an HVAC system:
- Energy Efficiency: Insulation helps keep the air temperature consistent as it travels through the ducts. Without proper insulation, your AC system has to work harder to maintain the temperature, leading to increased energy consumption.
- Condensation Control: Insulation prevents moisture from forming on the ducts by reducing temperature fluctuations, which helps avoid mold and mildew growth.
- Noise Reduction: Insulated ducts are quieter, reducing the noise associated with airflow through the system.
- Prevents Air Leaks: Well-insulated ducts can prevent the loss of conditioned air and stop warm or cool air from escaping.
Signs You Need to Repair or Replace Duct Insulation
Before diving into repairs, it’s essential to recognize when your duct insulation needs attention:
- Increased Energy Bills: If you notice your energy bills rising unexpectedly, it could be due to damaged or insufficient insulation in your ducts.
- Uneven Temperature Distribution: If certain areas of your home are not cooling or heating properly, it might be because of air leaks or poorly insulated ducts.
- Condensation: Moisture or water buildup around the ducts could indicate that the insulation is compromised and needs replacement.
- Visible Damage: Cracks, holes, or visible wear on the insulation are clear signs that it needs to be repaired or replaced.
- Mold and Mildew: If you notice mold growth on your ducts or nearby surfaces, this could be due to moisture accumulation from poor insulation.
Duct Insulation Repair: Step-by-Step Guide
If you’ve identified issues with your duct insulation, here’s a guide on how to repair or replace it.
1. Turn Off the HVAC System
Before beginning any work, make sure the HVAC system is turned off to prevent any accidents. This is especially important when handling electrical components or if you need to access parts of the system near the ducts.
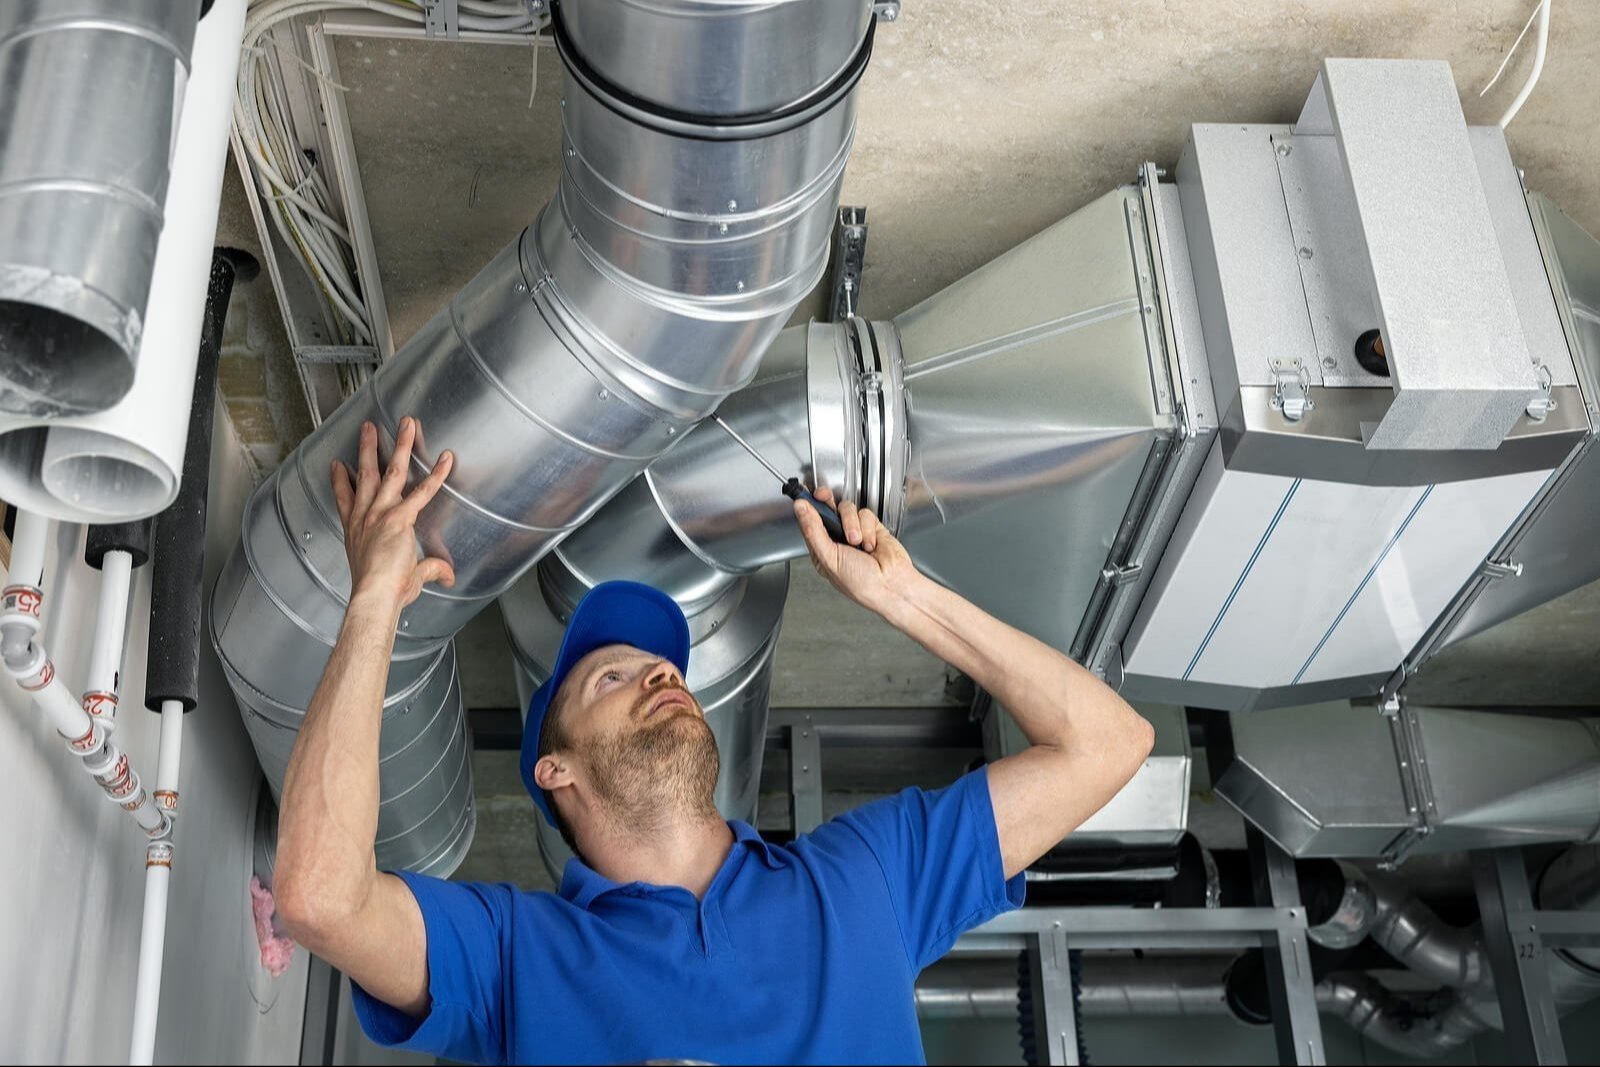
2. Inspect the Ducts and Insulation
Carefully inspect the ducts for any visible damage to the insulation. Check for the following:
- Tears, Holes, or Cracks: These can allow air to escape, reducing efficiency.
- Water Damage: If there’s moisture present, it could be a sign that the insulation is failing and needs to be replaced.
- Mold or Mildew: These can be signs of moisture accumulation due to damaged insulation.
You may need to remove a section of the duct or insulation to fully inspect the area.
3. Remove Old or Damaged Insulation
If the insulation is beyond repair or has water damage, it’s time to remove it. Use the following steps:
- Cut and Peel: Carefully cut and peel back any insulation that is damaged or broken. For fiberglass insulation, be sure to wear protective gloves and a mask to avoid irritation.
- Clean the Area: Once the damaged insulation is removed, clean the surface of the duct to remove dust, dirt, or debris. Use a damp cloth to wipe down the area and allow it to dry completely before applying new insulation.
4. Install New Insulation
There are several types of insulation available for ducts, but the most common options are fiberglass, foam board, or reflective insulation. Choose the type that best fits your system and climate.
- Fiberglass Insulation: Roll out fiberglass insulation that is specifically designed for ducts. Ensure that it’s the right thickness to meet the system’s needs.
- Foam Board Insulation: Cut foam board insulation to fit the sections of your ductwork. Foam board is rigid and provides a high R-value (insulating capacity).
- Reflective Insulation: This is often used in ducts located in hot environments. It reflects heat away from the duct, keeping the air cool.
Installing the Insulation:
- Start by wrapping the insulation around the ductwork or covering the exterior with foam or reflective materials.
- Secure the insulation using duct tape, fasteners, or adhesive designed for insulation. Be sure to cover all seams and edges to prevent air from escaping.
- If using fiberglass rolls, ensure that the seams are tightly sealed to avoid gaps in insulation.
5. Check for Proper Seal
Once the new insulation is installed, check to ensure all sections are properly sealed. Gaps or seams should be tightly taped or secured to prevent air leaks.
- Use foil tape or HVAC-grade insulation tape to seal the seams securely.
- If using a spray foam or adhesive, ensure it is applied evenly and securely around all joints and sections of the ducts.
6. Inspect for Condensation Control
If you live in a humid climate or if your ducts pass through non-conditioned spaces (such as attics or crawlspaces), consider adding a vapor barrier to prevent moisture from affecting the insulation.
7. Test the System
After replacing the insulation, turn the HVAC system back on and check the airflow to ensure that the system is working properly. Monitor the system over the next few days to make sure there are no signs of moisture or air leakage.
Duct Insulation Repair Tips
- Safety First: Always wear gloves, protective eyewear, and a mask when handling insulation materials, especially fiberglass, as they can irritate the skin and lungs.
- Measure Twice, Cut Once: Ensure that the insulation is cut to the correct size and fits tightly around the ducts.
- Proper Ventilation: Ensure that your HVAC system is properly ventilated, as poor ventilation can lead to issues with humidity and condensation inside the ducts.